





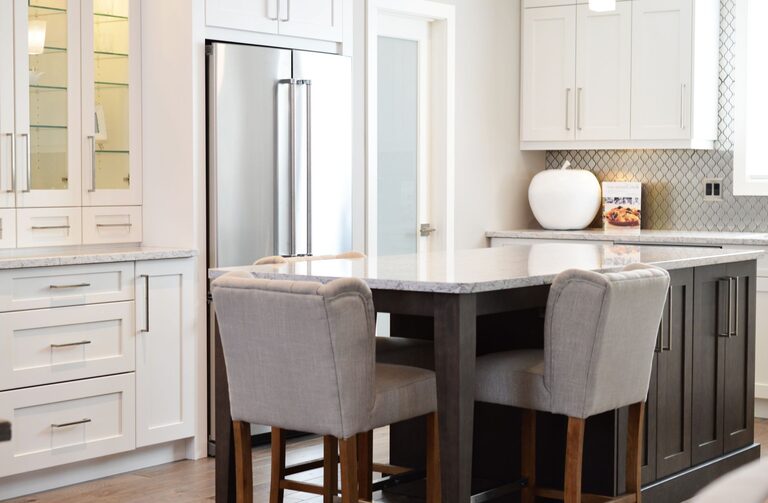
A clutter-free kitchen counter can make the entire room feel cleaner, calmer, and easier to use. It also gives you more space for meal preparation and makes daily cleaning much faster. The goal is not to remove everything from your counters, but to keep only the items you use often and store the rest where it is easy to find.
With a few practical changes and simple habits, you can create a kitchen counter that stays organized instead of becoming a drop zone for dishes, mail, appliances, and everyday items.
Start With a Complete Counter Reset
Before deciding what should stay on your counters, remove everything. Place the items on a table, island, or clean section of the floor. This gives you a clear view of how much you are storing in plain sight.
Clean the empty counter thoroughly, including the areas behind appliances and along the edges. A fresh surface makes it easier to make thoughtful decisions about what belongs there.
As you sort, place each item into one of four groups:
– Use daily
– Use occasionally
– Store somewhere else
– Donate, recycle, or discard
Be honest about how often you use each item. An appliance used once every few months may not need to take up valuable counter space every day.
Keep Only the Most Useful Items Visible
The best items to leave on the counter are those you use frequently and those that are difficult or inconvenient to put away.
Common examples include:
– A coffee maker used every morning
– A knife block used for most meals
– A toaster used several times a week
– A fruit bowl
– A cutting board that doubles as kitchen decor
– A utensil container placed near the main work area
Try to limit visible items to the essentials. If several appliances perform similar tasks, choose the one you use most often and store the others.
For example, a blender, food processor, and stand mixer may not all need to sit on the counter. Keeping one accessible and storing the others can free a surprising amount of space.
Create Zones for Different Activities
Kitchen counters are easier to organize when each section has a purpose. Instead of spreading items evenly across the entire surface, create zones based on how you use the kitchen.
Coffee or Beverage Zone
Place the coffee maker, mugs, coffee, tea, and sweeteners together in one area. Use a tray to keep small items contained and make the area easier to move when cleaning.
Food Preparation Zone
Keep your cutting board, knives, and frequently used cooking tools near the section where you prepare food. Avoid placing decorative objects in this area, since they can get in the way.
Cooking Zone
Store cooking utensils, oils, and seasonings near the stove if you use them regularly. A small container or tray can prevent bottles from spreading across the counter.
Drop Zone
If your counters collect keys, receipts, mail, or bags, create a designated drop zone somewhere else. A wall-mounted organizer, small basket, or shelf near the entry can keep these items out of the kitchen.
Use Trays to Control Small Items
Small objects often create visual clutter because they spread across the counter. A tray provides a clear boundary and keeps related items together.
Use a tray for:
– Cooking oils and seasonings
– Coffee supplies
– Dish soap and a sponge
– Frequently used supplements or snacks
– Small kitchen tools
A tray also makes cleaning easier. Instead of moving several items one at a time, lift the entire group and wipe beneath it. Choose a tray that is easy to clean and large enough to hold the items without feeling crowded.
Improve Storage Inside Cabinets and Drawers
A cluttered counter often points to a storage problem. If cabinets and drawers are difficult to use, you are more likely to leave items out.
Make storage more functional with a few simple changes:
– Add drawer dividers for utensils and tools
– Use shelf risers to create extra levels
– Install pull-out organizers in deep cabinets
– Store pans vertically with dividers
– Use stackable containers for dry goods
– Add hooks inside cabinet doors
– Place small appliances on accessible shelves
Group similar items together so you do not have to search for them. Keep everyday dishes and tools at a comfortable height, while placing occasional-use items on higher shelves or in less accessible cabinets.
Find a Home for Paper and Mail
Paper is one of the fastest ways for a kitchen counter to become cluttered. Bills, school notices, receipts, and takeout menus can quickly form a messy pile.
Set up a simple paper system outside the kitchen. For example, use three labeled folders or baskets:
– To sort
– To respond
– To file
Sort mail as soon as it enters your home. Recycle unwanted paper immediately, then move the remaining items to the appropriate folder. Avoid creating a permanent paper pile on the counter.
You can also keep a small recycling container near the entryway so junk mail is handled before it reaches the kitchen.
Manage Appliances Thoughtfully
Small appliances are useful, but they can take over a counter quickly. Review your appliances and ask three questions:
- Do I use this at least several times a week?
- Is it difficult to lift or store?
- Does it serve a purpose that another appliance does not?
If an appliance is used regularly and is heavy or awkward, it may deserve a permanent place on the counter. Otherwise, store it in a cabinet, pantry, or nearby closet.
Consider using an appliance garage, a dedicated pantry shelf, or a rolling cart. A cart can hold appliances and move out of the way when you need more workspace.
Reduce Decorative Clutter
Decor can make a kitchen feel warm, but too many decorative items reduce useful space. Choose a few pieces that add character without interfering with daily tasks.
Good options include:
– A single vase of flowers
– A small framed print
– A bowl of fresh fruit
– A wooden cutting board
– One attractive container for utensils
Keep decorations away from the sink, stove, and main preparation area. This prevents them from becoming dirty or getting in the way.
Create a Daily Counter Reset
A short daily reset is more effective than waiting for clutter to become overwhelming. Set aside five minutes at the end of the day to return items to their proper places.
A simple reset can include:
– Putting away dishes
– Returning appliances and tools
– Sorting mail and receipts
– Wiping the counters
– Emptying the sink
– Checking for items that belong in another room
Ask everyone in the household to return items after using them. When each object has a designated home, tidying becomes faster and more automatic.
Review the System Regularly
Your kitchen organization should change as your habits change. Review the counters and storage areas every few months. Remove items you no longer use and adjust zones that are not working well.
If clutter keeps returning to one spot, look for the reason. You may need a basket, hook, drawer divider, or wastebasket nearby. Repeated clutter is often a sign that an item does not have a convenient home.
A clutter-free kitchen counter does not require perfection. It requires practical storage, clear zones, and a small daily habit of putting things away. By keeping only useful items visible and giving everything else a designated place, you can make your kitchen easier to clean, more comfortable to use, and more enjoyable every day.




More Stories